How to Apply an Iron-On Patch
Iron-On Patches are a great, easy and sophisticated way to add a personal twist to an old jacket, pair of jeans, hat, shoes, bag, purse or anything else! They make a fantastic addition to your favourite pieces or to refresh any clothes you’re thinking about getting rid of.

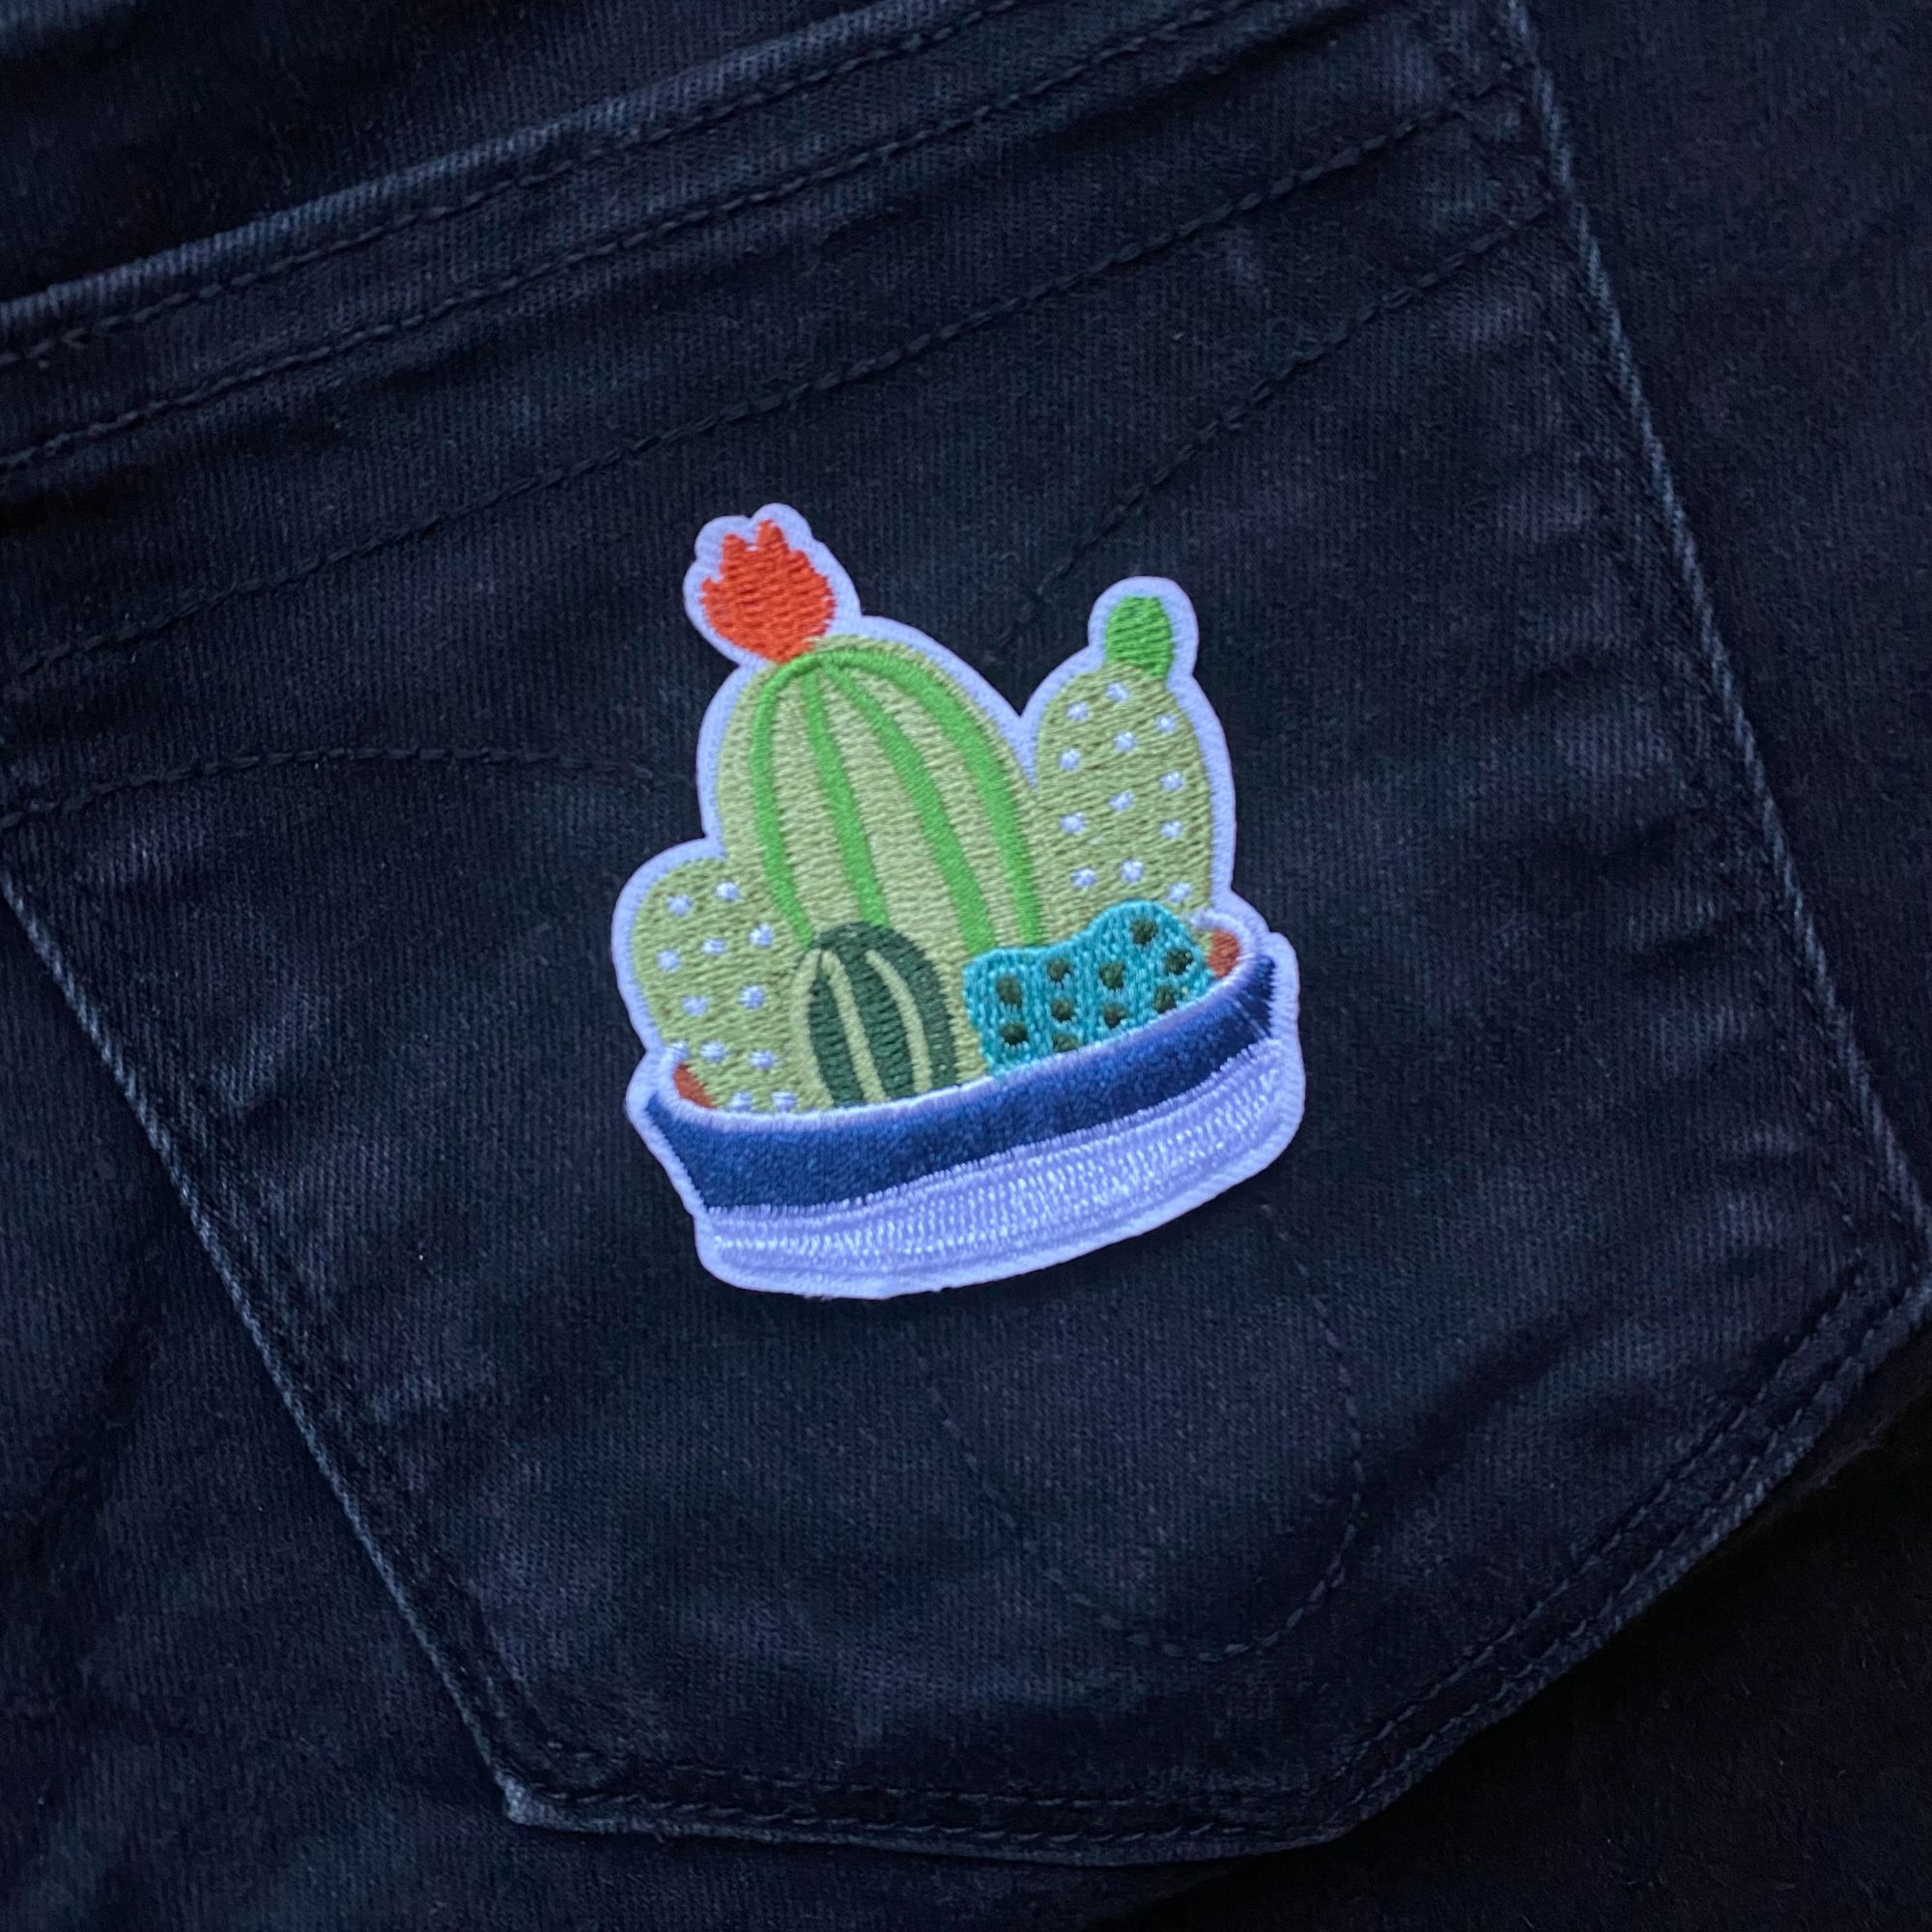
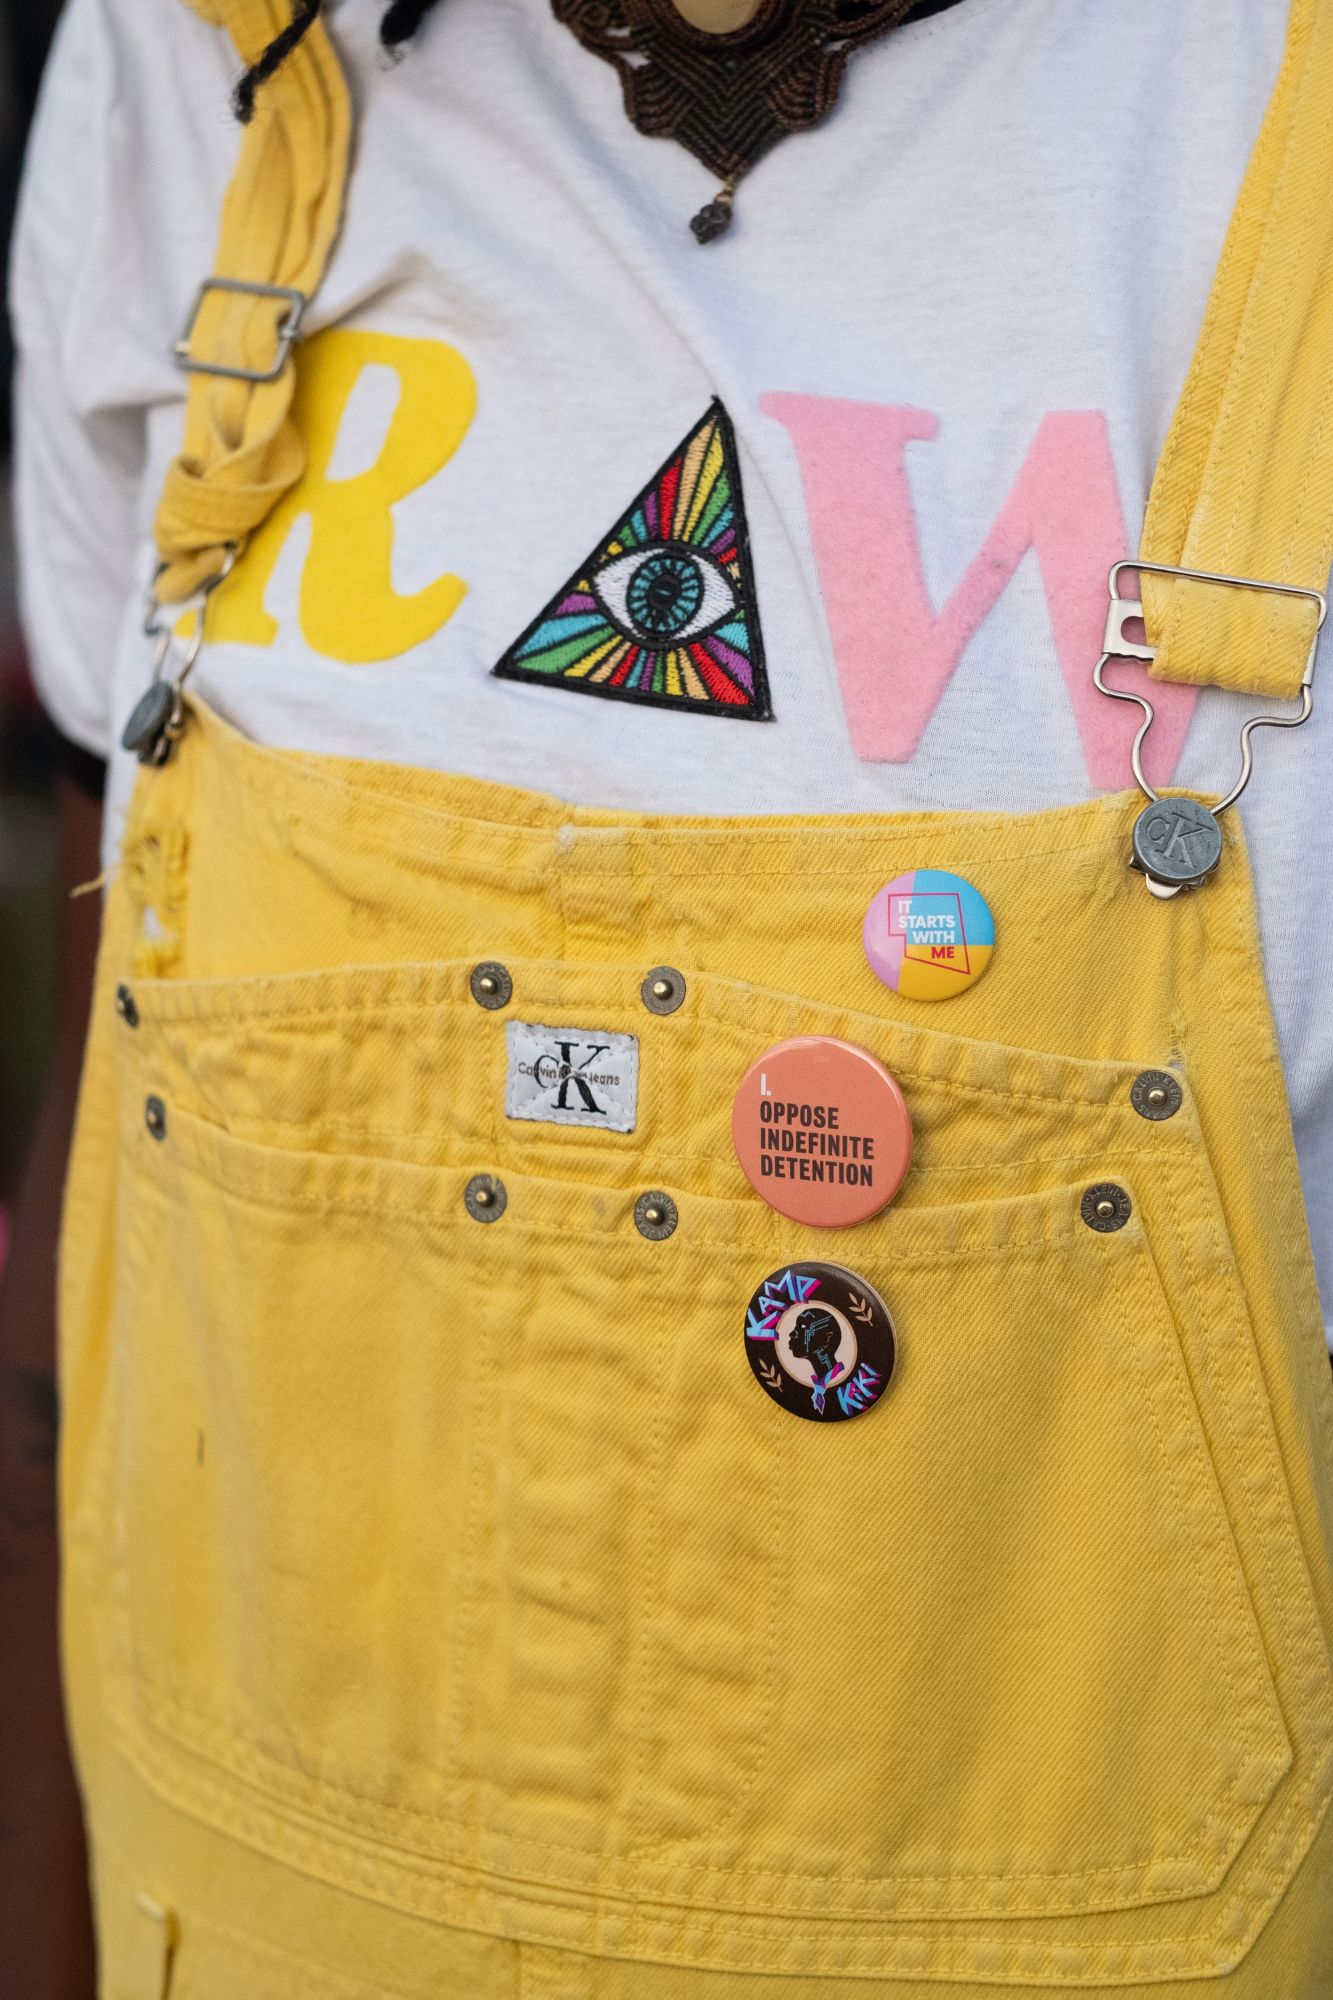
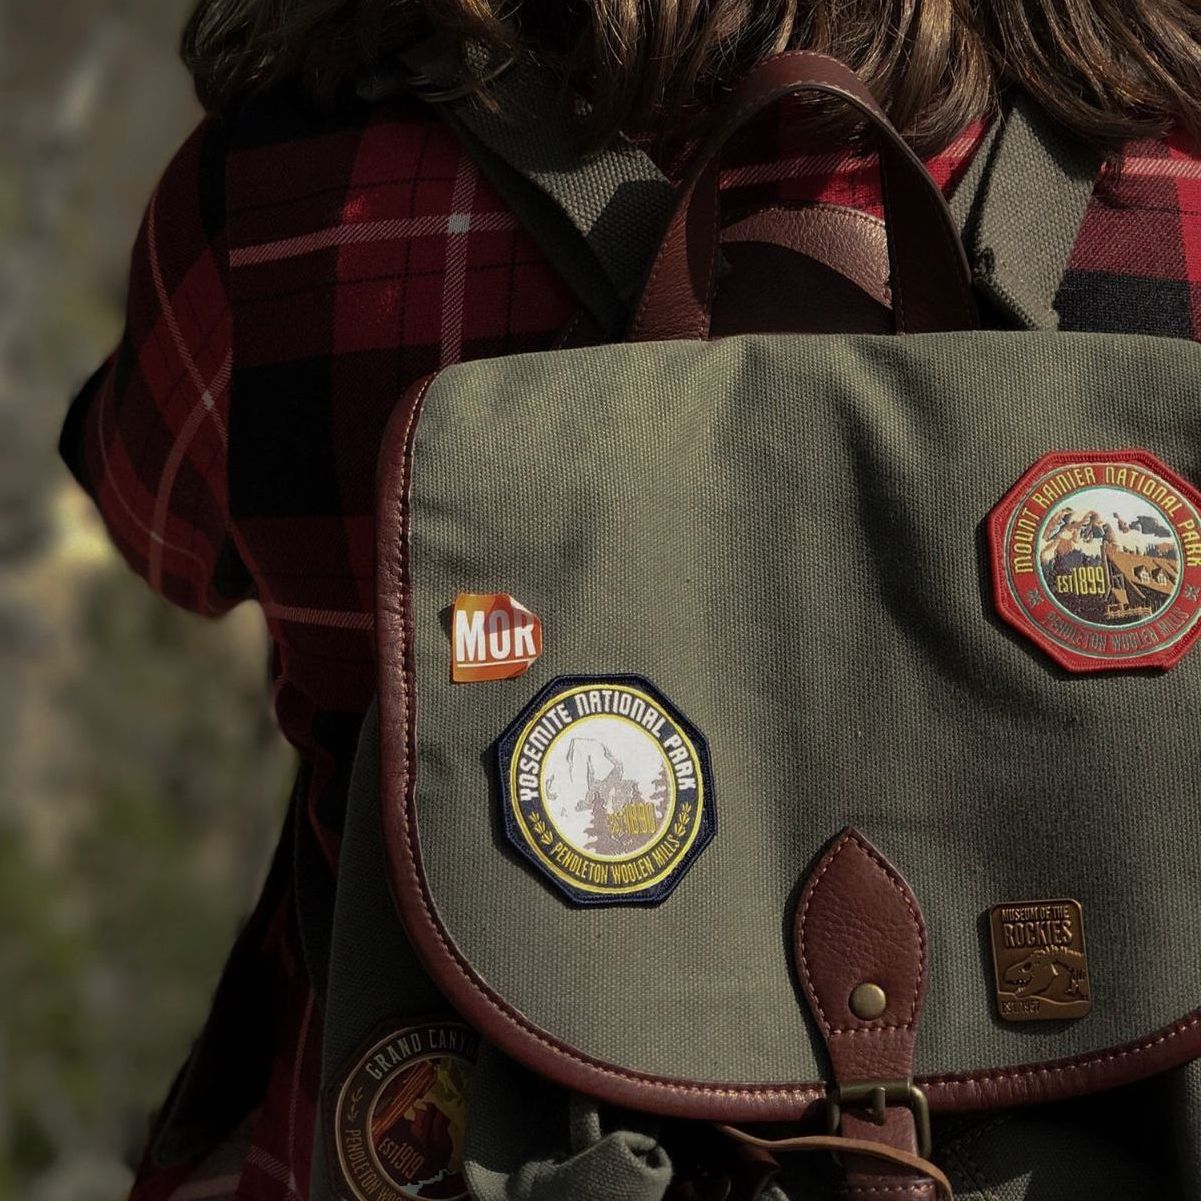
Whether your aesthetic is military chic, vintage, punk, indie or anything in between, decorating your clothes with patches is back fiercer than ever. They’re great for making a statement or just expressing your look in your own way.
Even though it’s reasonably simple and fool proof, we’ve written a step by step guide on applying your patches, especially if you want them to last!
TIPS:
- Always use an ironing board
- Never allow children to use a hot iron
- Ensure close supervision for anyone inexperienced with ironing
1. Choose Your Item of Clothing
Material is important! Choosing non stretch materials such as denim is best, as the patches themselves will not be able to stretch with materials and this can cause them to fall off or the material to become warped. Patches DON’T work well on nylon, rayon, leather or waterproof rain-jacket materials (however if you sew your patch on, these materials can all be used, but the heat from the iron can irreversibly damage them!).
Patches work BEST with materials such as cotton, polyester and denim, so these are all a pretty safe bet!
2. Turn Your Iron up to the Highest Heat Setting
Use your iron's hottest setting for best results!
3. Position Your Patch
It’s important to position your patch perfectly, as you won’t get another chance at this step! If you’re specifically centring a patch, be sure to use a measuring tape, consider using pins to hold your patch in the right position and prevent it slipping or turning slightly as you work.
4. Use a Pressing Cloth
Using a pressing cloth protects both the patch itself and the material you’re ironing your patch on to from the heat of the iron. You can also use a pillowcase of a handkerchief, however we recommend the real deal for best results and reduced accidents! After you’ve secured your patch in the place you want it, layer the pressing cloth over the top of your patch.
5. Iron on the Patch
Now for the fun part. Press downward with the iron and hold it in place for 30-45 seconds, being extra careful not to move the iron around as this can shift the position of the patch. Once affixed, flip your item inside out, lay it flat on your ironing board and repeat on the reverse.
6. Allow your item and patch to cool completely before wearing.
Allowing your item and newly affixed patch to cool completely lets the iron on backing set completely and also eliminates the risk of any hot-clothing vs body related incidents.
7. Attach Stitches for Extra Security and Longer Durability
We always advise all customers to sew patches on if they want their patches to last. Patches will last about 25 washes at cool temperatures, less at hotter temperatures. For items such as t-shirts that are washed regularly stitching a patch on for added security is essential!

